
Purpose: Enables the rear turn signals and LED taillights to flash out of phase.
Warning!! There are 12 lines of code to write here. Save your original coding. (For Octavia 3, Phase 1)
Proceed :
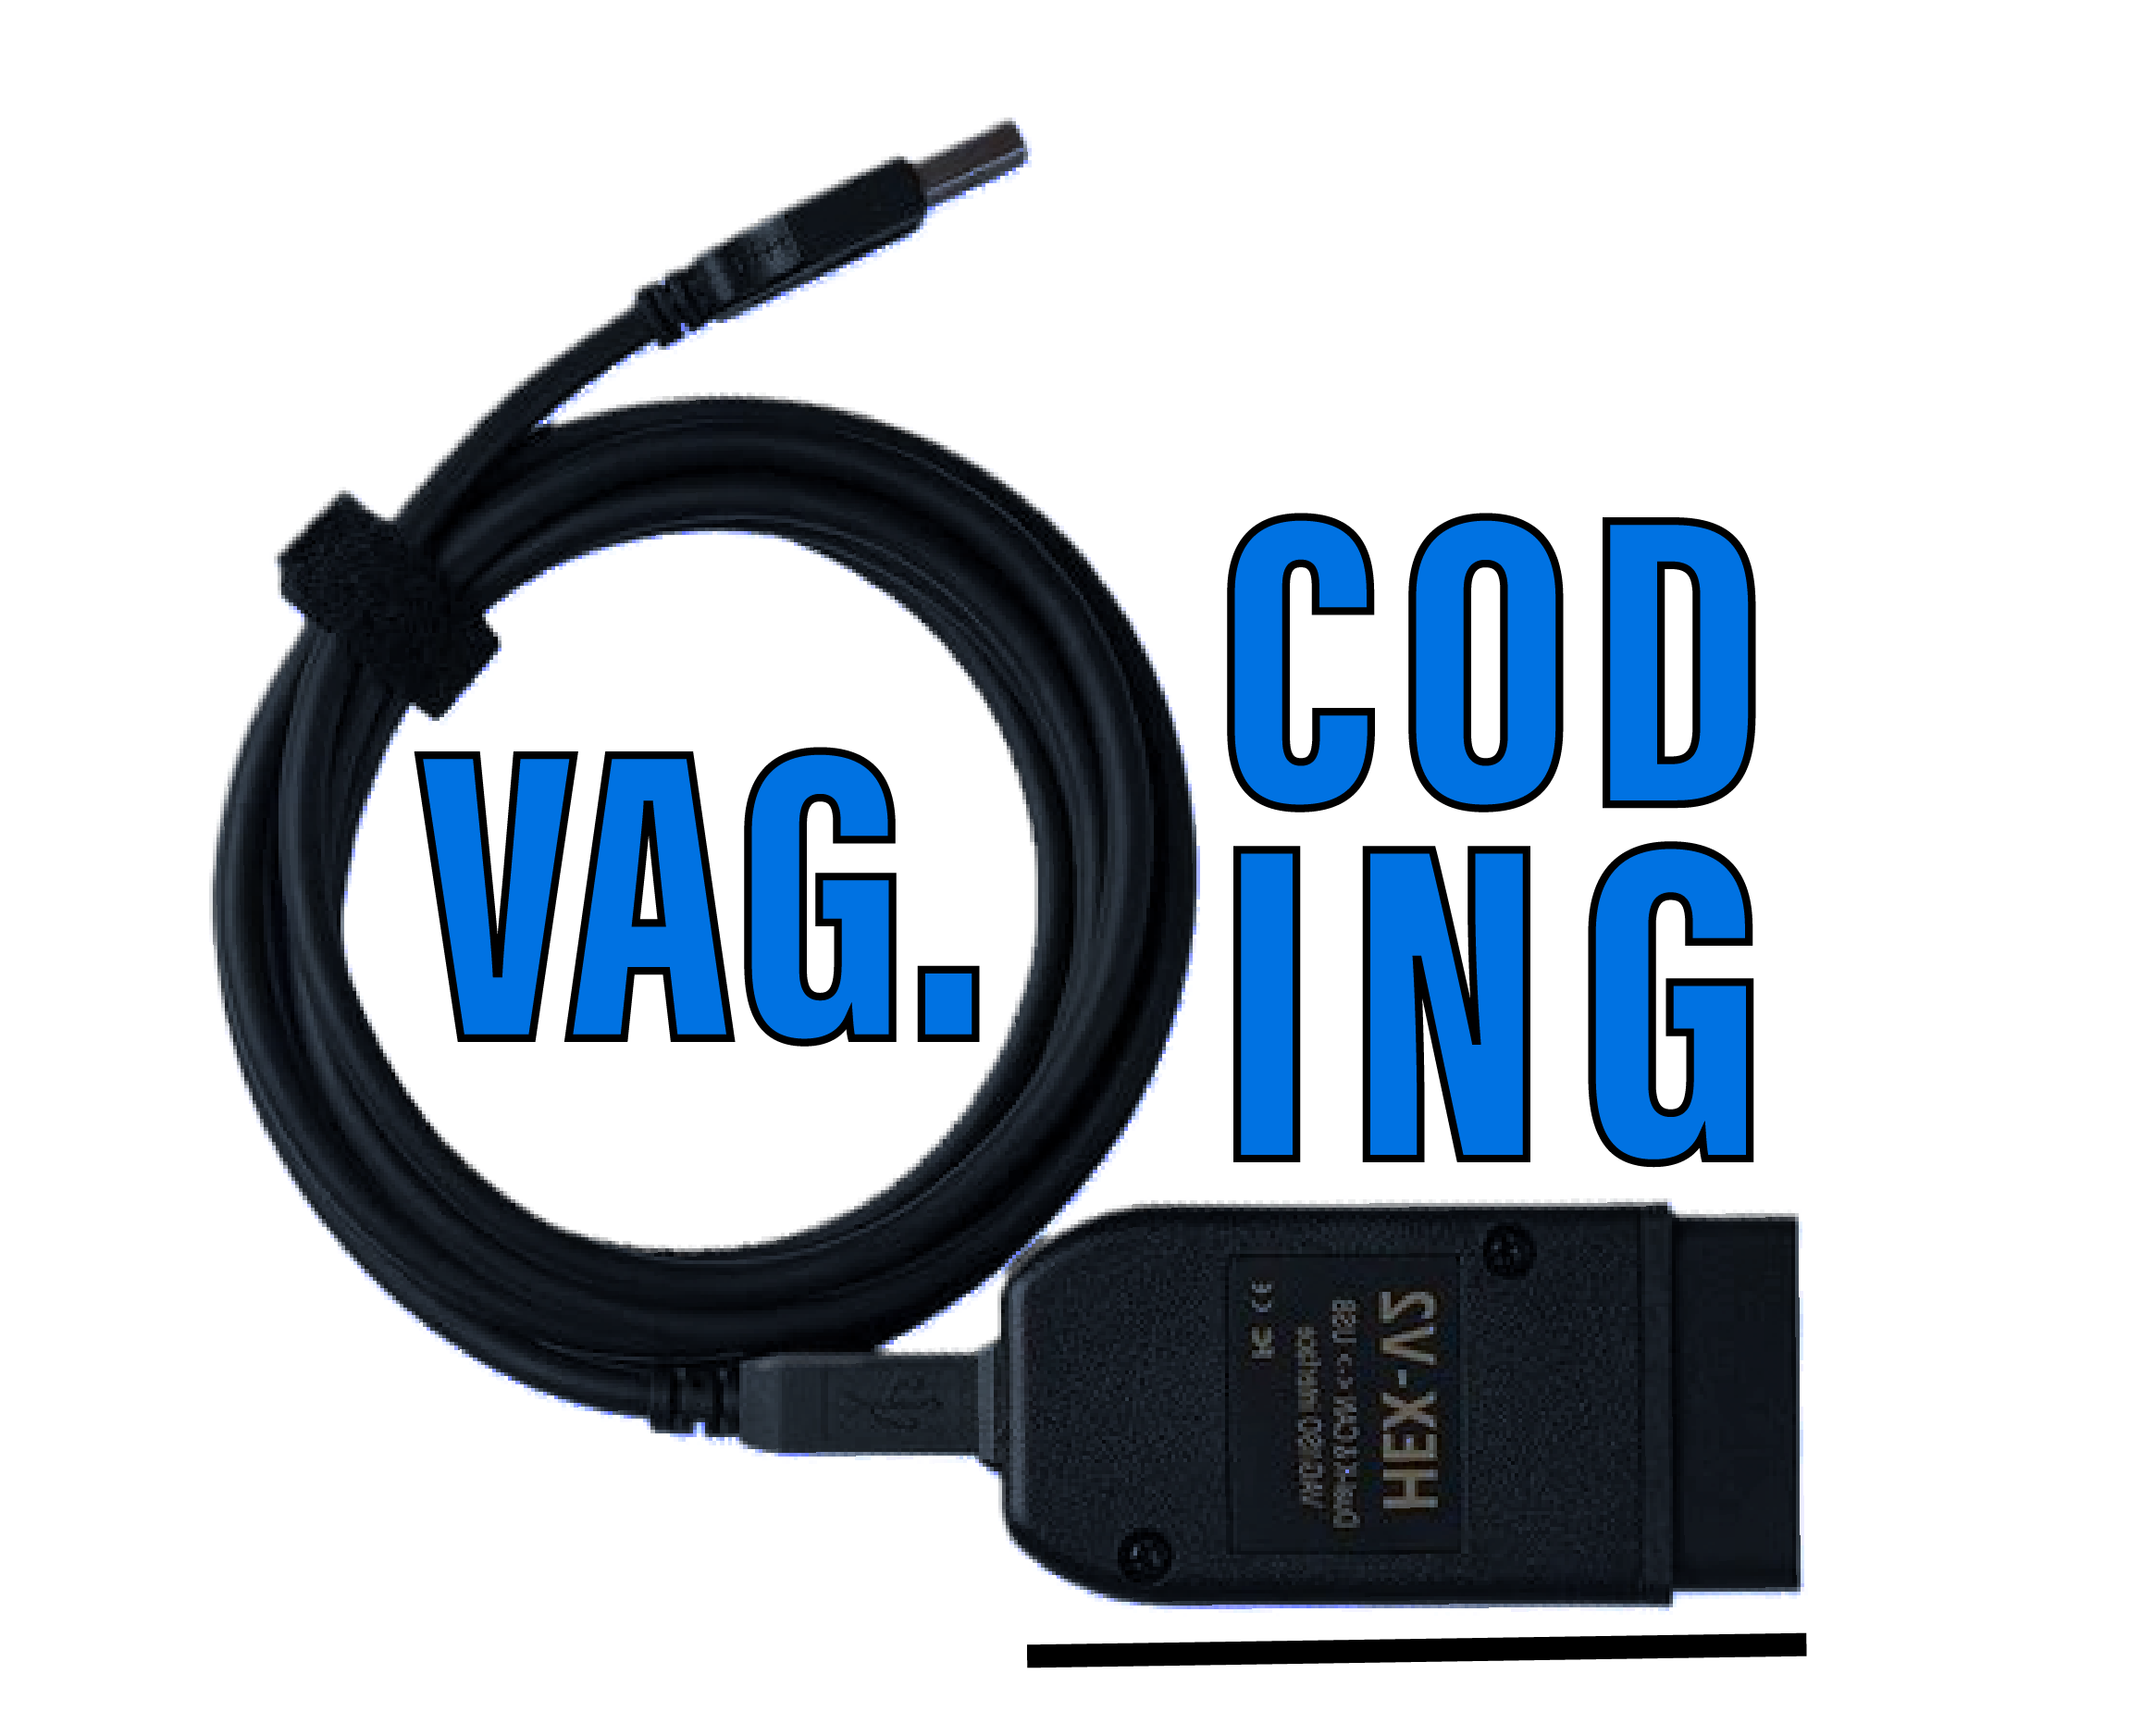
1 – Engine off, ignition off, connect your official VAG-COM VCDS cable to
the computer, then plug the other end into your vehicle’s diagnostics socket.
2 – Switch on the ignition and run the VCDS program.
Line 1:
3 – Click on“Select”, then click on“09 – Cent. Elect.”.
4 – Click on“Security Access – 16” then enter the code“31347”.
5 – Click on“Adaptation – 10”.
6 – At the very top of this page, there is a drop-down menu.
From this drop-down menu, select “Leuchte23SL HLC10-Lichtfunktion E 23.”
7 – On this same page, there is a second drop-down menu toward the bottom
.
From this menu, select “Blinken Links Dunkelphase” and then confirm.
Line 2:
3 – Click on“Select”, then click on“09 – Cent. Elect.”.
4 – Click on“Security Access – 16” then enter the code“31347”.
5 – Click on “Adaptation – 10”.
6 – At the very top of this page, there is a drop-down menu.
From this drop-down menu, select “Leuchte23SL HLC10-Dimmwert EF 23.”
7 – On this same page, there is a second drop-down menu toward the bottom
.
Set the value to “100” and then confirm.
Line 3:
3 – Click on“Select”, then click on“09 – Cent. Elect.”.
4 – Click on“Security Access – 16” then enter the code“31347”.
5 – Click on“Adaptation – 10”.
6 – At the very top of this page, there is a drop-down menu.
From this drop-down menu, select “Leuchte23SL HLC10-Dimming Direction EF 23.”
7 – On this same page, there is a second drop-down menu further down
.
From this menu, select “maximize” and click “OK.”
Line 4:
3 – Click on“Select”, then click on“09 – Cent. Elect.”.
4 – Click on“Security Access – 16” then enter the code“31347”.
5 – Click on“Adaptation – 10”.
6 – At the very top of this page, there is a drop-down menu.
From this drop-down menu, select “Leuchte23SL HLC10-Lichtfunktion G 23.”
7 – On this same page, there is a second drop-down menu, but further down
.
From this menu, select “Blinken links Hellphase” and then confirm.
Line 5:
3 – Click on“Select”, then click on“09 – Cent. Elect.”.
4 – Click on“Security Access – 16” then enter the code“31347”.
5 – Click on“Adaptation – 10”.
6 – At the very top of this page, there is a drop-down menu.
From this drop-down menu, select “Leuchte23SL HLC10-Dimmwert GH 23.”
7 – On this same page, there is a second drop-down menu toward the bottom
.
Set the value to “0” and then confirm.
Line 6:
3 – Click on“Select”, then click on“09 – Cent. Elect.”.
4 – Click on“Security Access – 16” then enter the code“31347”.
5 – Click on“Adaptation – 10”.
6 – At the very top of this page, there is a drop-down menu.
From this drop-down menu, select “Leuchte23SL HLC10-Dimming Direction GH 23.”
7 – On this same page, there is a second drop-down menu, but further down
.
From this menu, select “minimize” and then confirm.
Line 7:
3 – Click on“Select”, then click on“09 – Cent. Elect.”.
4 – Click on“Security Access – 16” then enter the code“31347”.
5 – Click on“Adaptation – 10”.
6 – At the very top of this page, there is a drop-down menu.
From this drop-down menu, select “Leuchte24SL HRA65-Lichtfunktion E 24.”
7 – On this same page, there is a second drop-down menu further down
.
From this menu, select “Blinken rechts Dunkelphase” and then confirm.
Line 8:
3 – Click on“Select”, then click on“09 – Cent. Elect.”.
4 – Click on“Security Access – 16” then enter the code“31347”.
5 – Click on“Adaptation – 10”.
6 – At the very top of this page, there is a drop-down menu.
From this drop-down menu, select “Leuchte24SL HRA65-Dimmwert EF 24.”
7 – On this same page, there is a second drop-down menu toward the bottom
.
Set the value to “100” and then confirm.
Line 9:
3 – Click on“Select”, then click on“09 – Cent. Elect.”.
4 – Click on“Security Access – 16” then enter the code“31347”.
5 – Click on“Adaptation – 10”.
6 – Sur cette page, tout en haut, il y a un menu déroulant.
Dans ce menu déroulant, choisir « Leuchte24SL HRA65-Dimming Direction EF 24 »
7 – On this same page, there is a second drop-down menu toward the bottom
.
From this menu, select “maximize“ and then confirm.
Line 10:
3 – Click on“Select”, then click on“09 – Cent. Elect.”.
4 – Click on“Security Access – 16” then enter the code“31347”.
5 – Click on“Adaptation – 10”.
6 – At the very top of this page, there is a drop-down menu.
From this drop-down menu, select “Leuchte24SL HRA65-Lichtfunktion G 24.”
7 – On this same page, there is a second drop-down menu further down
.
From this menu, select “Blinken rechts Hellphase” and then confirm.
Line 11:
3 – Click on“Select”, then click on“09 – Cent. Elect.”.
4 – Click on“Security Access – 16” then enter the code“31347”.
5 – Click on“Adaptation – 10”.
6 – At the very top of this page, there is a drop-down menu.
From this drop-down menu, select “Leuchte24SL HRA65-Dimmwert GH 24.”
7 – On this same page, there is a second drop-down menu, but it’s located toward the bottom
of the page.
Set the value to “0” and then confirm.
Line 12:
3 – Click on“Select”, then click on“09 – Cent. Elect.”.
4 – Click on“Security Access – 16” then enter the code“31347”.
5 – Click on“Adaptation – 10”.
6 – At the very top of this page, there is a drop-down menu.
From this drop-down menu, select “Leuchte24SL HRA65-Dimming Direction GH 24.”
7 – On this same page, there is a second drop-down menu toward the bottom
.
From this menu, select “minimize“ and then confirm.
This post is also available in:
 Français (French)
