
Purpose: Allows you to lower the air suspension for a lowered look.
Select “Auto” mode via the MMI (it must not be set to Dynamic, Comfort, or any other mode…). Make sure the car is on level ground. Close the doors; if any doors open during this process, the procedure will be interrupted. Make sure the car is not in towing or tire-change mode. If necessary, shift the car into“Neutral” and release the parking brake (Remember that you’re supposed to be on level ground, so your A6/S6, A7/S7, C7/4G, or A8 D4 won’t move).
Procedure:
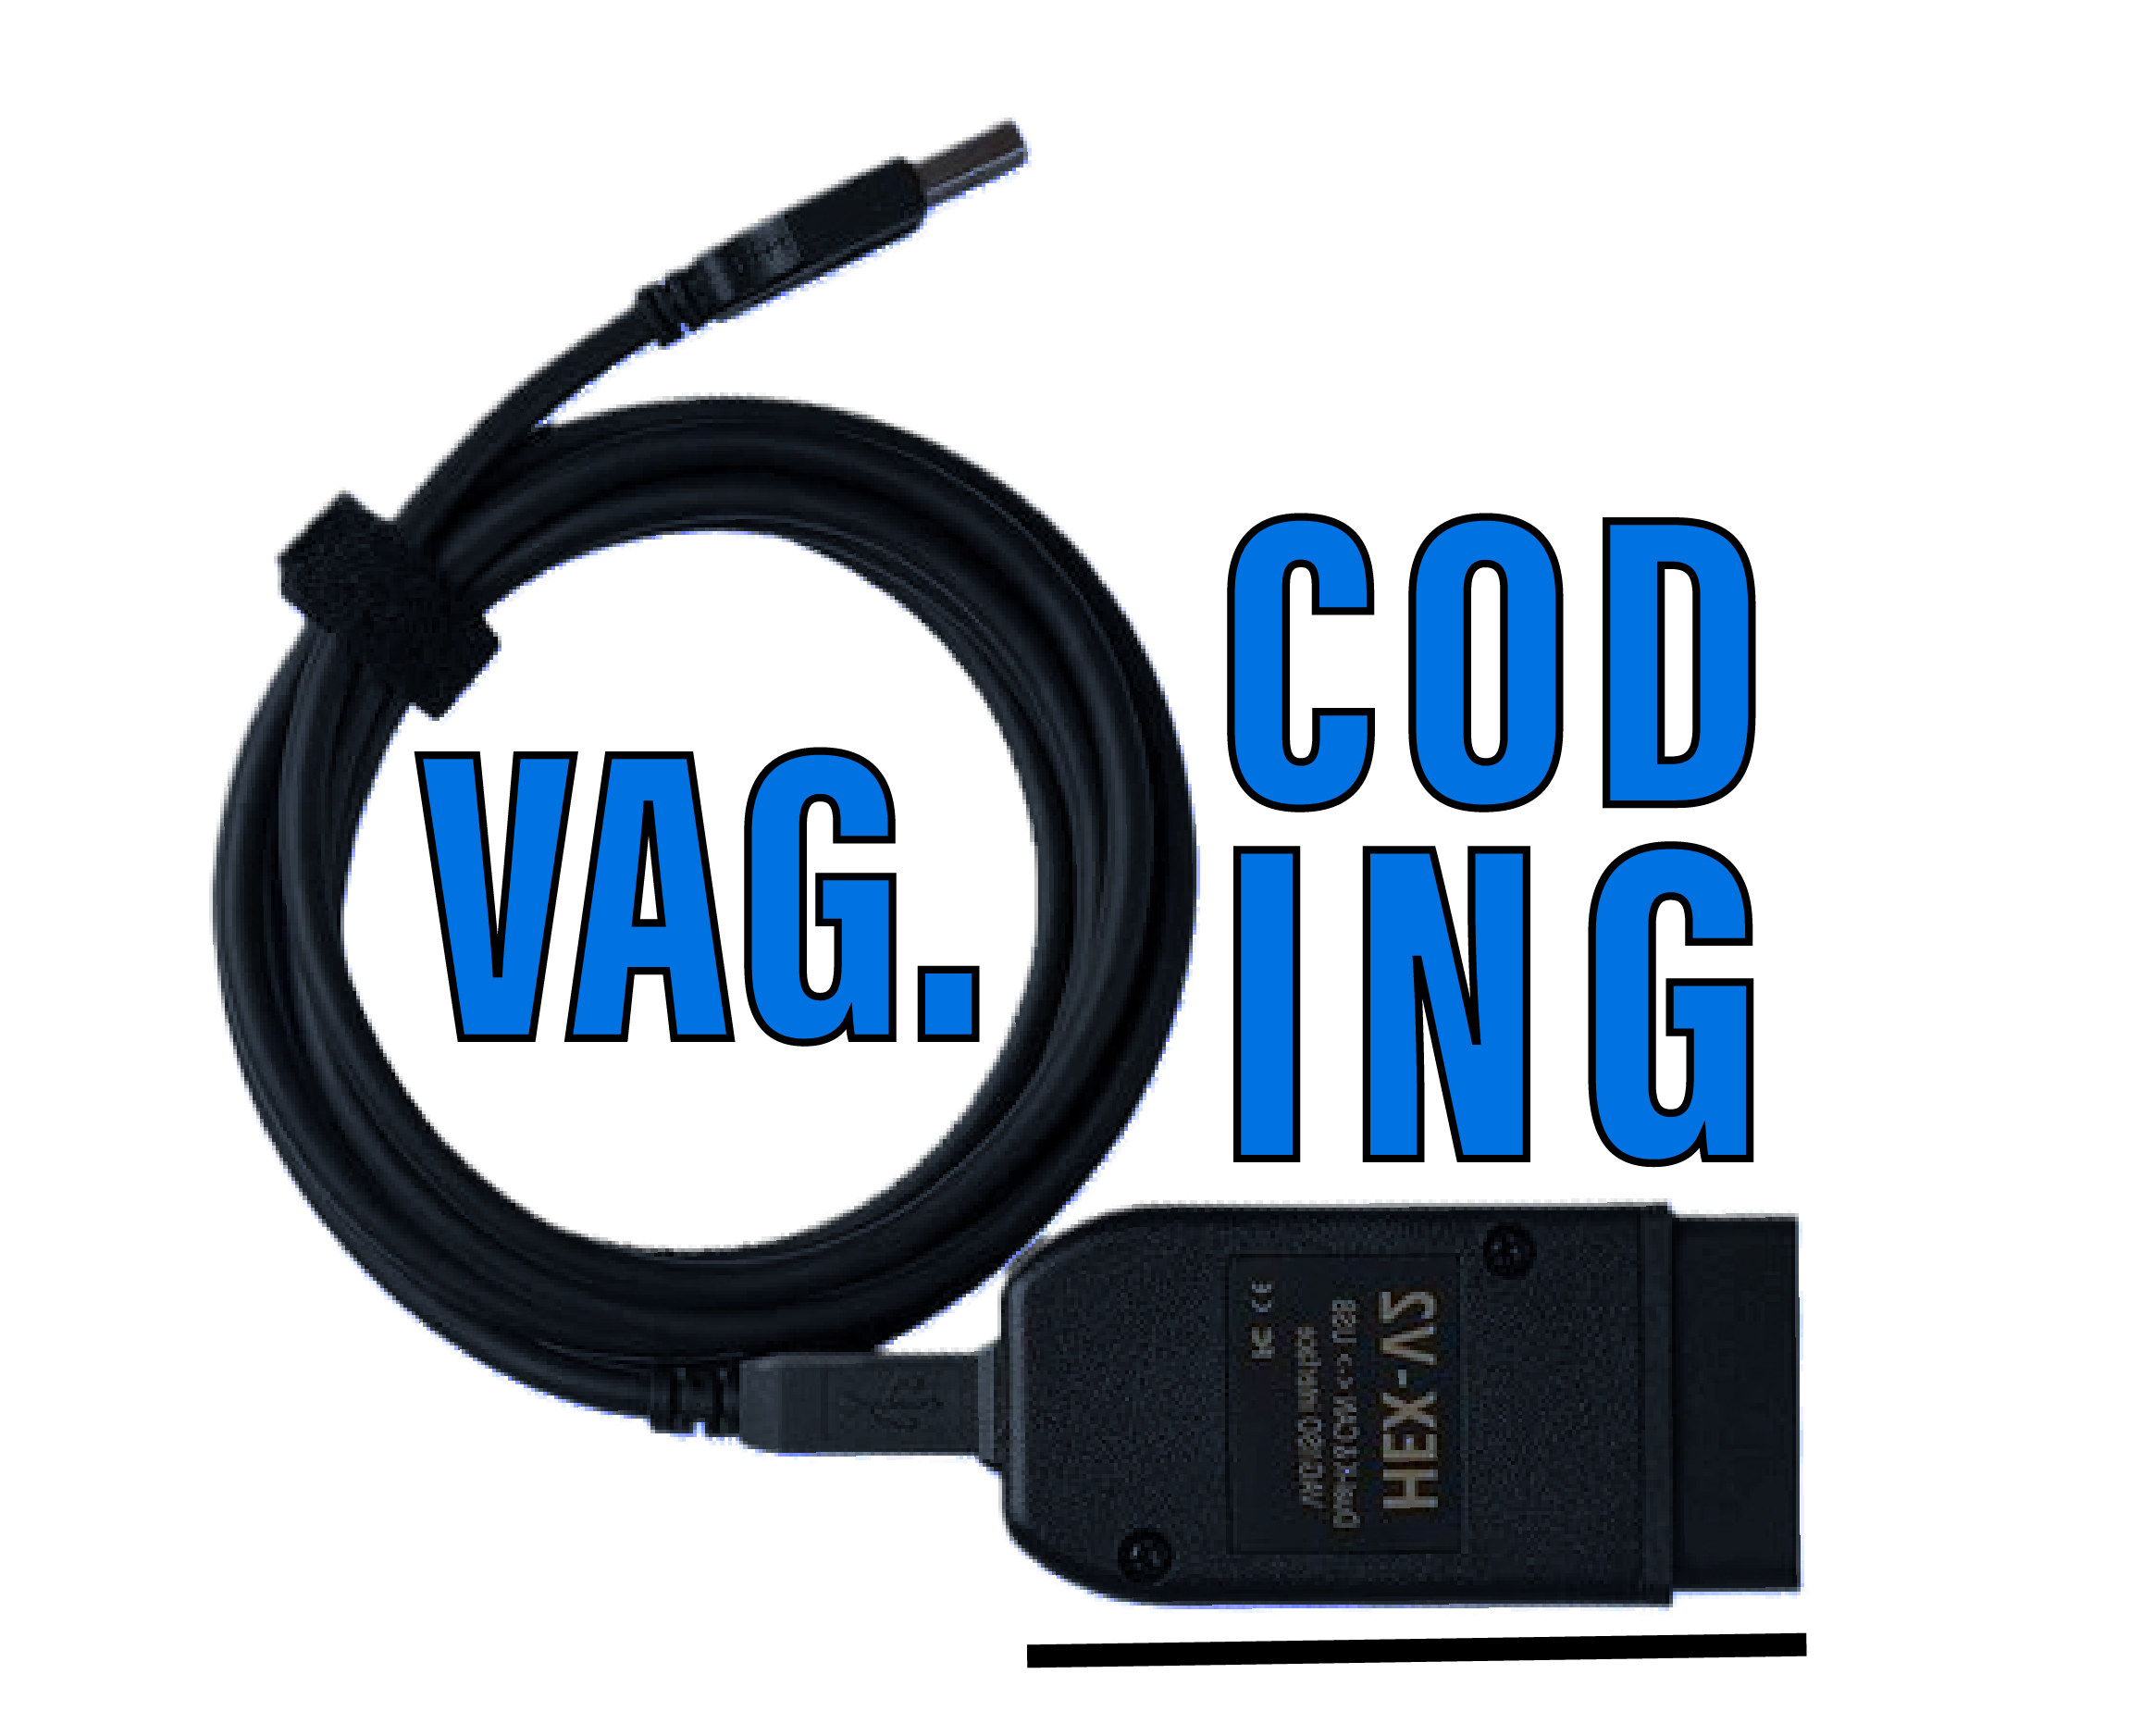
1 – Engine off, ignition off, connect your official VAG-COM VCDS cable to the computer, then plug the other end into your vehicle’s diagnostics socket.
2 – Switch on the ignition and run the VCDS program.
Line 1:
3 – Click “Select,” then click “ 34 – Level Control.”
4 – Click on“Security Access – 16” then enter the code“20103”.
5 – Click on “Adaptation – 10,” and note the four values labeled as:
“Body height, front wheel well edge G”
“Body Height, Rear Wheel Well Edge G”
“Body Height, Front Right Wheel Well Edge”
“Body Height, Rear Wheel Well Edge D”
6 – Take the values you wrote down above, and add the desired dimensions in millimeters (mm) to each value, carefully noting them on a sheet of paper…
Example of an adjustment for a 15mm drop in the front and an 11mm drop in the rear:
- Front Left: 392.80–> 407.80
- Before Right: 388.40–> 403.40
- Left Rear: 391.30–> –402.30
- Right Rear: 385.60–> –396.60
Please note that, as far as I understand, Audi allows for a lowering of 17 mm at the front and 13 mm at the rear. You can lower it further if you wish, but if you lower it just a little more, it will affect other parts of the system, such as the cameras, adaptive cruise control, etc., so be careful.
7 – Press “BACK,” then go to“04 – Basic Settings”
IMPORTANT: Whatever you do, do not select“Reset All Adaptations”—it doesn’t work and will require a visit to the dealership.
8 – Select“Activate Roll Correction,” click“Go!”, wait for it to finish (it should only take a second or two, until it says “Not Active”), and then press “Stop.”
9 – Select “Clear Leveling Control Calibration,” click “Go!,” wait for the process to finish, and you’ll see an error message on the central display (OBD) of your instrument cluster that reads ” Air Suspension Malfunction ” along with a small yellow car icon (illustration) featuring a two-way arrow in the center of the car (illustration). Don’t worry—this is normal. You’ll see “Not Active” displayed in VCDS, and then press “Stop.”
10 – Select “Approach Reference Level,” then click “Go!” This step will take about a minute, and your car will rise and lower during the process (you’ll hear some whistling sounds). Wait for it to finish until “Inactive” appears, then press “Stop,” followed by “End, Back.”
11 – Go to “10 – Adaptation” on the previous screen.
12 – Next, you’ll need to enter the new values you defined in Step 4 into your documents for the various heights.
“Body height, front wheel well edge G”
“Body Height, Rear Wheel Well Edge G”
“Body Height, Front Right Wheel Well Edge”
“Body Height, Rear Wheel Well Edge D”
Select them one by one to enter the new value you have determined, click “Save,” and then repeat the process for the other three wheel heights.
Every time you enter a value, you should see a message indicating that it has been accepted.
13 – After completing the adjustments for all 4 wheels, select “Back” and return to “04 – Basic Settings” again.
14 – In the basic settings, select “Calibrate Pitch Control” and press “Go!“; you’ll need to wait a few seconds. Wait until “Inactive” appears, then press ” Stop.”
If you get an error during this step, either you missed a step described above, or something didn’t go as planned.
15 – Select “Enable Trim Correction,” click “Go!,” wait a few seconds until “Inactive” appears, and then press ” Stop,” followed by ” Done, Back.”
16 – You’re done. Go to “02 – Trouble Codes”and have fun clearing the error codes.
Get out of the car and watch; wait a moment, and it will lower just as you wanted!
If you want to make another adjustment, completely disregard the changes you made previously, because this onedoes not build on the previous ones—it completely overwrites them.
For example, if you decreased the value by 5 mm the first time to 392.80, refer to step 2 of this tutorial and repeat the steps.
So you’ve changed it to 397.80. You want a total lowering of 15 mm. You’ll then enter 407.80 the second time, to lower it by an additional 10 mm during the second adjustment, which will bring you to a total of 5 + 10 = 15 mm.
I’d like to remind you that a “visible” yet fairly safe lowering value is 17 mm in the front and 13 mm in the rear at the very most. Going any lower is strongly discouraged.
This post is also available in:
 Français (French)
