
Purpose: Enables the rearview camera after it has been installed on the MIB (retrofit).
SFD: Yes
Procedure:
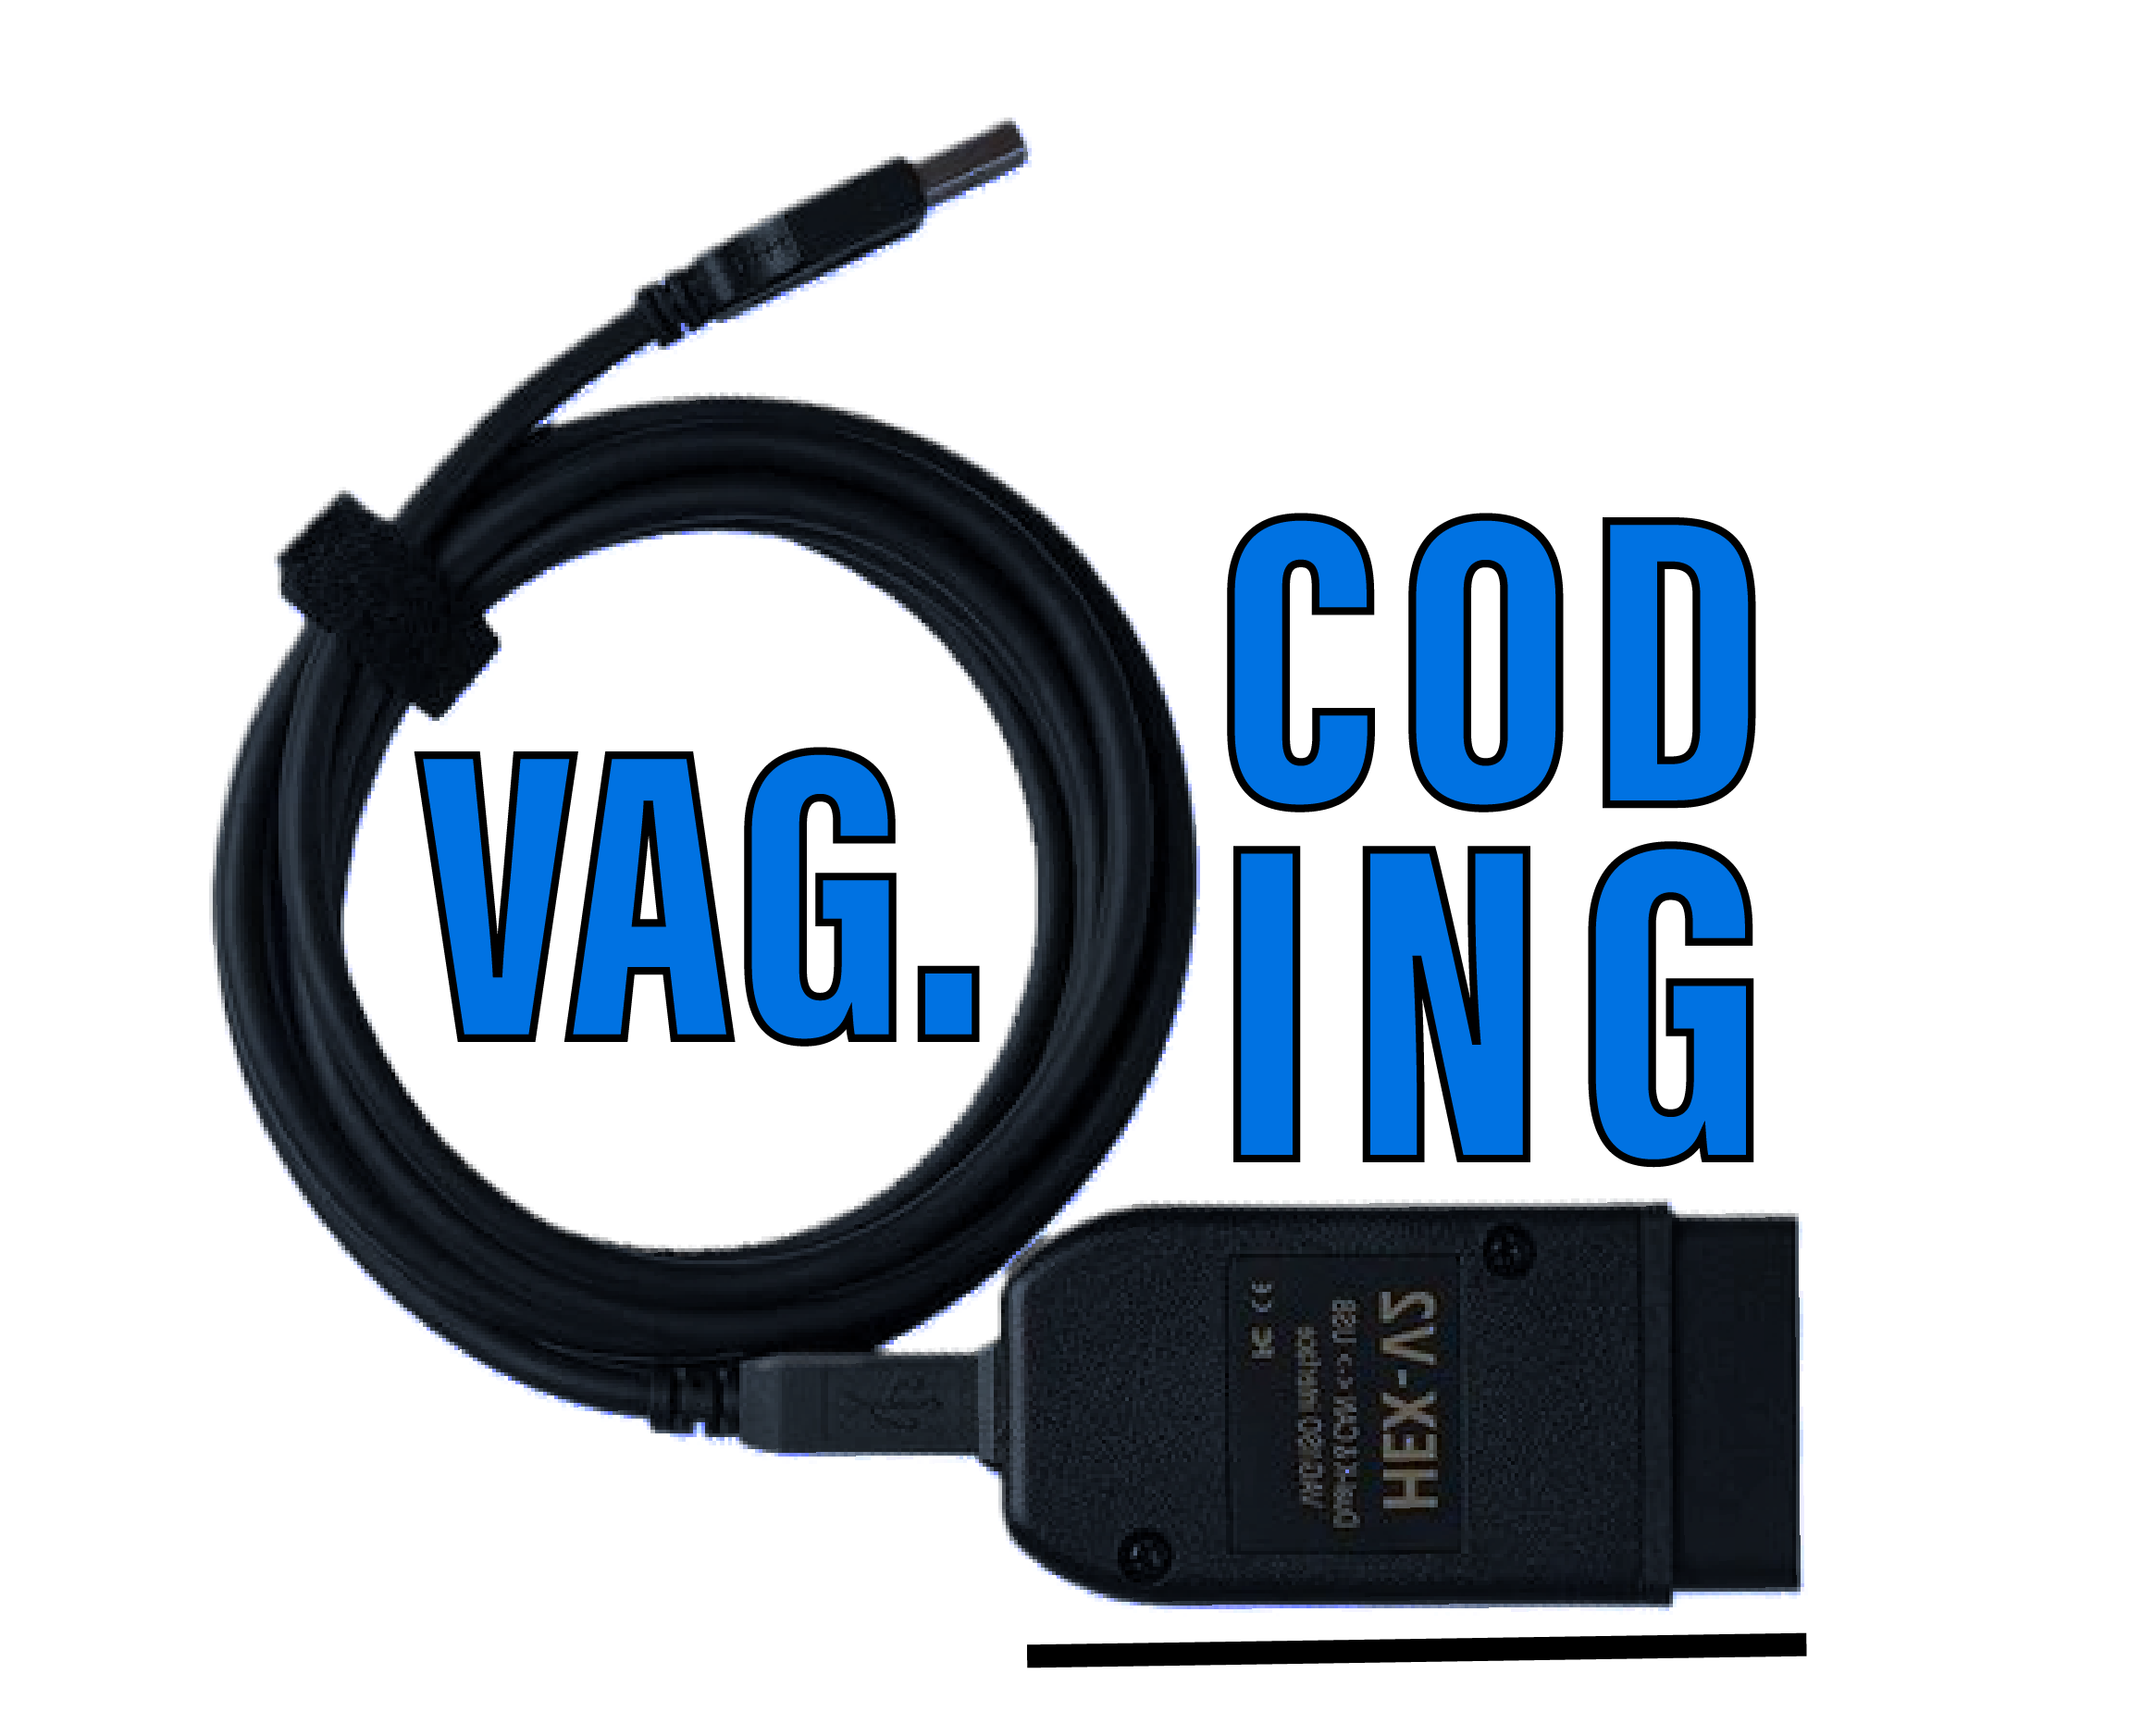
1 – Engine off, ignition off, connect your official VAG-COM VCDS cable to the computer, then plug the other end into your vehicle’s diagnostics socket.
2 – Switch on the ignition and run the VCDS program or the OBDeleven app.
Hardware upgrade :
VW Retrofit Kit: 5H9 054 634
Line 1:
3 – Click “Select,” then click “19 – CAN Gateway.”
4 – Click “Coding – 07,” then click “Long Coding Helper“
5 – Select the bit: PaCo_Video_Parksystem – RVC_compact_smart
Line 2:
3 – Click on“Select” then click on“5F – Electr. information”.
4 – Unlock SFD protection
5 – Click on“Adaptation – 10”.
6 – At the very top of this page, there is a drop-down menu.
From this drop-down menu, select “Car Function List BAP – VPS_0x0B“
7 – On this same page, there is a second drop-down menu at the bottom
of the page.
On this menu, choose the“active” value.
Line 3:
3 – Click on“Select” then click on“5F – Electr. information”.
4 – Unlock SFD protection
5 – Click on“Adaptation – 10”.
6 – At the very top of this page, there is a drop-down menu.
From this drop-down menu, select “Car Function List BAP – VPS_0x0B_msg_bus“
7 – On this same page, there is a second drop-down menu further down
.
From this menu, select the value “can_fas“
Line 4:
3 – Click on“Select” then click on“5F – Electr. information”.
4 – Unlock SFD protection
5 – Click on“Adaptation – 10”.
6 – At the very top of this page, there is a drop-down menu.
From this drop-down menu, select “function_configuration_unit– RVC_video_input“
7 – On this same page, there is a second drop-down menu further down
.
From this menu, select the value “ethernet“
Line 5:
3 – Click on“Select” then click on“5F – Electr. information”.
4 – Unlock SFD protection
5 – Click on“Adaptation – 10”.
6 – At the very top of this page, there is a drop-down menu.
From this drop-down menu, select “parkingsystem_video_input– carrier_resolution“
7 – On this same page, there is a second drop-down menu further down
.
From this menu, select the value “1392×656“
Line 6:
3 – Click on“Select” then click on“5F – Electr. information”.
4 – Click on“Security Access – 16” then enter the code“20103”.
5 – Click on“Adaptation – 10”.
6 – At the very top of this page, there is a drop-down menu.
From this drop-down menu, select “function_configuration_rvc – rvc_low_black_screen_trunk_open“
7 – On this same page, there is a second drop-down menu, but further down
.
From this menu, select the value “not_active“
Line 7:
3 – Click on“Select” then click on“5F – Electr. information”.
4 – Unlock SFD protection
5 – Click on“Adaptation – 10”.
6 – At the very top of this page, there is a drop-down menu.
From this drop-down menu, select “function_configuration_rvc– rvc_low_failsafe“
7 – On this same page, there is a second drop-down menu, but further down
.
From this menu, select the value “not_active“
Line 8:
3 – Click on“Select” then click on“5F – Electr. information”.
4 – Unlock SFD protection
5 – Click on“Adaptation – 10”.
6 – At the very top of this page, there is a drop-down menu.
From this drop-down menu, select “function_configuration_rvc– rvc_low_black_screen_velocity_threshold“
7 – On this same page, there is a second drop-down menu, but further down
.
From this menu, select the value “not_active“
Line 9:
3 – Click on“Select” then click on“5F – Electr. information”.
4 – Click on“Security Access – 16” then enter the code“20103”.
5 – Click on“Adaptation – 10”.
6 – At the very top of this page, there is a drop-down menu.
From this drop-down menu, select “function_configuration_rvc– rear_view_low_rvc“
7 – On this same page, there is a second drop-down menu, but further down
.
From this menu, select the value “not_active“
Line 10:
3 – Click on“Select” then click on“5F – Electr. information”.
4 – Unlock SFD protection
5 – Click on“Adaptation – 10”.
6 – At the very top of this page, there is a drop-down menu.
From this drop-down menu, select “function_configuration_rvc– rvc_low_lid_close_delay_time“
7 – On this same page, there is a second drop-down menu located toward the bottom
.
From this menu, select the value “0 [ONE]_s“
Line 11:
3 – Click on“Select” then click on“5F – Electr. information”.
4 – Unlock SFD protection
5 – Click on“Adaptation – 10”.
6 – At the very top of this page, there is a drop-down menu.
From this drop-down menu, select “function_configuration_rvc– rvc_low_videofailure_detection_time“
7 – On this same page, there is a second drop-down menu, but further down
.
From this menu, select the value “0“
This post is also available in:
 Français (French)
