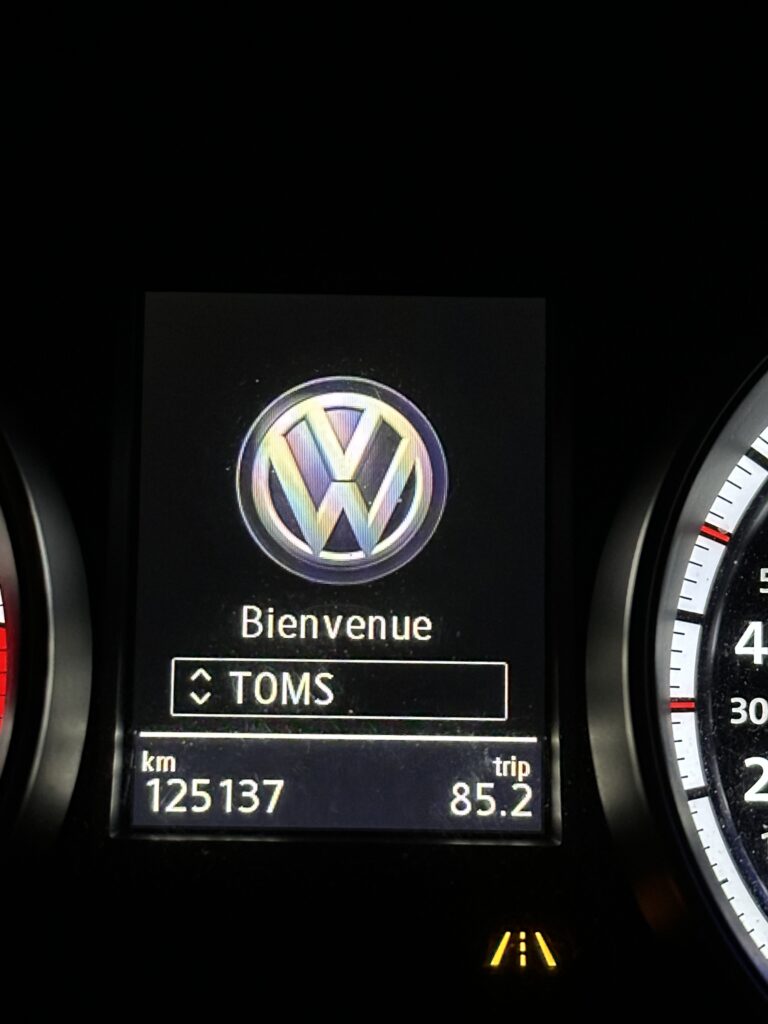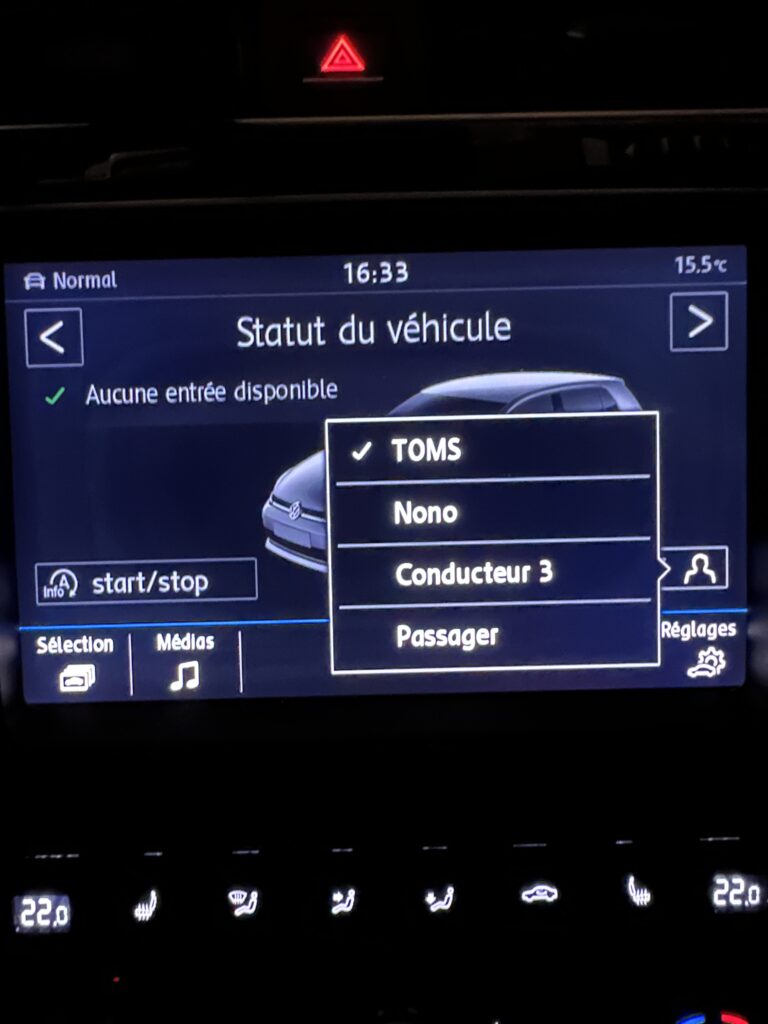

Purpose: Allows you to activate driver profiles on the OBD or Virtual Cockpit and on the MIB screen, which can be selected based on the driver. The profile saves the driver’s settings (radio, ventilation, etc.).
Watch out! There are 11 lines of coding to be seen here, 13.
Procedure:
1 – Engine off, ignition off, connect your official VAG-COM VCDS cable to the computer, then plug the other end into your vehicle’s diagnostics socket.
2 – Switch on the ignition and run the VCDS program.
Line 1:
3 – Click on“Select”, then click on“09 – Cent. Elect.”.
4 – Click on“Security Access – 16” then enter the code“31347”.
5 – Click on“Adaptation – 10”.
6 – At the very top of this page, there is a drop-down menu.
In this drop-down menu, select “Personalization-Aktivierungsoption_im_HMI-Menue_sichtbar“
7 – On this same page, there is a second drop-down menu toward the bottom
.
From this menu, select “Active” and then confirm.
Line 2:
3 – Click on“Select”, then click on“09 – Cent. Elect.”.
4 – Click on“Security Access – 16” then enter the code“31347”.
5 – Click on“Adaptation – 10”.
6 – At the very top of this page, there is a drop-down menu.
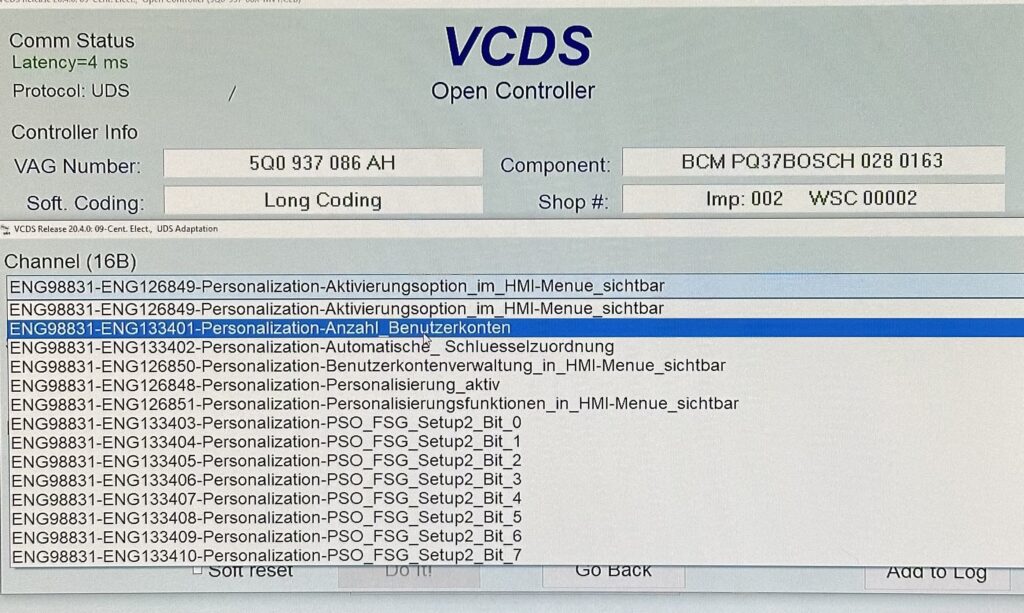
From this drop-down menu, select “Personalization-Anzahl_Benutzerkonten“
7 – On this same page, there is a second drop-down menu, but further down
.
From this menu, select “4” and then confirm.
Line 3:
3 – Click on“Select”, then click on“09 – Cent. Elect.”.
4 – Click on“Security Access – 16” then enter the code“31347”.
5 – Click on“Adaptation – 10”.
6 – At the very top of this page, there is a drop-down menu.
In this drop-down menu, select “Personalization-User_Account_Management_Visible_in_HMI_Menus“
7 – On this same page, there is a second drop-down menu toward the bottom
.
From this menu, select “Active” and then confirm.
Line 4:
3 – Click on“Select”, then click on“09 – Cent. Elect.”.
4 – Click on“Security Access – 16” then enter the code“31347”.
5 – Click on“Adaptation – 10”.
6 – At the very top of this page, there is a drop-down menu.
In this drop-down menu, select “Personalization-Personalisierung_aktiv“
7 – On this same page, there is a second drop-down menu toward the bottom
.
From this menu, select “Active” and then confirm.
Line 5:
3 – Click on“Select”, then click on“09 – Cent. Elect.”.
4 – Click on“Security Access – 16” then enter the code“31347”.
5 – Click on“Adaptation – 10”.
6 – At the very top of this page, there is a drop-down menu.
In this drop-down menu, select “Personalization-Personalisierungsfunktionen_in_HMI-Menue_sichtbar“
7 – On this same page, there is a second drop-down menu toward the bottom
.
From this menu, select “Active” and then confirm.
Line 6:
3 – Click on“Select”, then click on“09 – Cent. Elect.”.
4 – Click on“Security Access – 16” then enter the code“31347”.
5 – Click on“Adaptation – 10”.
6 – At the very top of this page, there is a drop-down menu.
In this drop-down menu, select “Personalization-Personalisierung_Profilfunkion“
7 – On this same page, there is a second drop-down menu further down
.
From this menu, select “Active Profiles” and then confirm.
Line 7:
3 – Click on“Select”, then click on“09 – Cent. Elect.”.
4 – Click on“Security Access – 16” then enter the code“31347”.
5 – Click on“Adaptation – 10”.
6 – On this page, at the very top, there is a drop-down menu.
In this drop-down menu, choose“Personalization – Profil_Variant”.
7 – On this same page, there is a second drop-down menu further down
.
From this menu, select “Konto (v.1.x)” and then confirm.
Information:
Once the coding is complete, to avoid errors, create your profiles on the screen and then edit them in Konto (v.2x).
Save, lock the car, then edit again on Konto (v.1.x )
Line 8:
3 – Click on“Select”, then click on“09 – Cent. Elect.”.
4 – Click on“Security Access – 16” then enter the code“31347”.
5 – Click on“Adaptation – 10”.
6 – At the very top of this page, there is a drop-down menu.
From this drop-down menu, select “Personalization-PSO_FSG_Setup2_Bit_1“
7 – On this same page, there is a second drop-down menu, but it’s toward the bottom of the page.
For the latter, select “Active” and then confirm.
8 – Repeat this step for PSO_FSG_Setup2_Bit 2 and for Bit 3 only if you have the driver’s seat memory option (36 – Seat mem driver)
Line 9:
3 – Click on“Select”, then click on“09 – Cent. Elect.”.
4 – Click on“Security Access – 16” then enter the code“31347”.
5 – Click on“Adaptation – 10”.
6 – At the very top of this page, there is a drop-down menu.
From this drop-down menu, select “Personalization-PSO_FSG_Setup2_Bit_4“
7 – On this same page, there is a second drop-down menu, but it’s toward the bottom of the page.
On the latter, select ” Not Active ” and then confirm.
Line 10:
3 – Click “Select,” then click “17 – Instruments.”
4 – Click on“Coding – 07” then on“Long Coding Helper” .
5 – Select Byte 10,
Then check Bit 0: “Customization”
Line 11:
3 – Click “Select,” then click “08- Auto HVAC.”
4 – Click on“Coding – 07” then on“Long Coding Helper” .
5 – Select Byte 15, Bits 3-4: Select “08 – Customization En abled ”
Line 12 (Optional):
3 – Click on“Select” then click on “.A5 – Front-Wheel Drive, Power Steering “.
4 – Click on“Coding – 07” then on“Long Coding Helper” .
5 – Select Byte 13, Bits 3–5: Select “10 Personalization_key, Version_1.x ”
Line 13 (If you have the driver’s seat memory option):
3 – Click “Select,” then click “36- Seat mem driver.”
4 – Click on“Coding – 07” then on“Long Coding Helper” .
5 – Select Byte 09, Bits 1-2: Select “02 – Func_key_memory_personalization, personalization active ”