Purpose: Enables Audi Drive Select Individual and allows it to be controlled via the MMI.
On facelift models, the button must be installed on the dashboard.
Step 1: Install the button and connect it to the power supply
Materials needed:
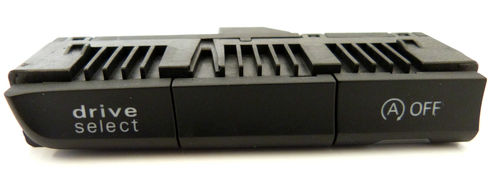
Button Ref.: 8K1 959 673 K V10
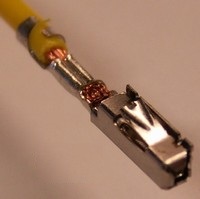
Repair Cable, Part No.: 000 979 009 E
Extraction wrenches, available from VAG Custom
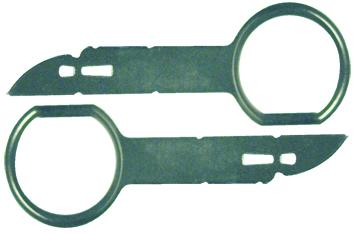
– Remove the MMI module using the removal tools and replace the old left button (which contains the Start/Stop button) with the new one.
– Connect the cable (000 979 009 E) to pin 7 of the new ADS button; the other end of the cable (which will need to be extended) must be connected to pin 16 of the gray (32-pin) connector on the power unit.
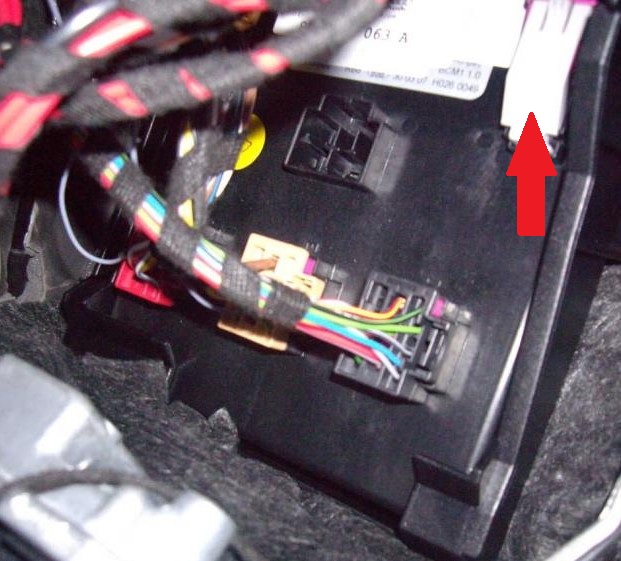
Step 2: Enable ADS in the Power Plant
Procedure:
1 – Engine off, ignition off, connect your official VAG-COM VCDS cable to the computer, then plug the other end into your vehicle’s diagnostics socket.
2 – Switch on the ignition and run the VCDS program.
Line 1:
3 – Click “Select,” then click “09 – Cent. Elect.”
4 – Click on“Coding – 07” then on“Long Coding Helper” .
5 – Select Byte 7:
Bit 5: Check “Drive Select installed”
Then Byte 8:
Bit 0: Check “Enable Engine in ADS Menu” (Enable engine/transmission, for automatic transmission)
Bit 1: (No need to check this bit; it is replaced by bit 7 of byte 11)
Bit 2: Check “Enable Engine in ADS Menu” (Enable engine, for manual transmission)
Bit 3: Check “Enable Suspension in ADS Menu” (Enable suspension, requires controlled damping)
Bit 4: Check “Enable Steering in ADS Menu” (Enable steering)
Byte 11:
Bit 7: This is a hidden bit, so you must modify the binary value directly (replace the 0 with a 1).
Then Byte 17:
Bit 7: Check the box
Line 2:
3 – Click “Select,” then click “44 – Power Steering.”
4 – Click on “Coding – 07,” then click on “Long Coding Helper.”
5 – Select Byte 3:
Bit 0: Check “Audi Drive Select (Charisma) active/installed”
Line 3:
3 – Click “Select,” then click “09 – Cent. Elect.”
4 – Click on “ Security Access – 16 ” then type the code “ 20113 ”
4 – Click “Adaptation – 10.”
5 – Select Channel 66
Set the value to 47
1 = Individual
2 = Comfort
4 = Auto
8 = Dynamic
16 = Off-road
32 = Efficiency
64 = Race
Step 3: Open the menu in the MMI
The hidden menu must be enabled! (See: Enabling the Hidden Menu on the MMI 3GP )
Open the Hidden Menu by pressing MENU + CAR (for 6 seconds)
car -> carmenuoperation -> charisma -> select “5”
car -> cardevicelist -> charisma -> check the box
car -> carbusassignment -> charisma -> select [CAN Komfort] 1/9
Restart the MMI by pressing MENU + the scroll wheel + the upper-right button.
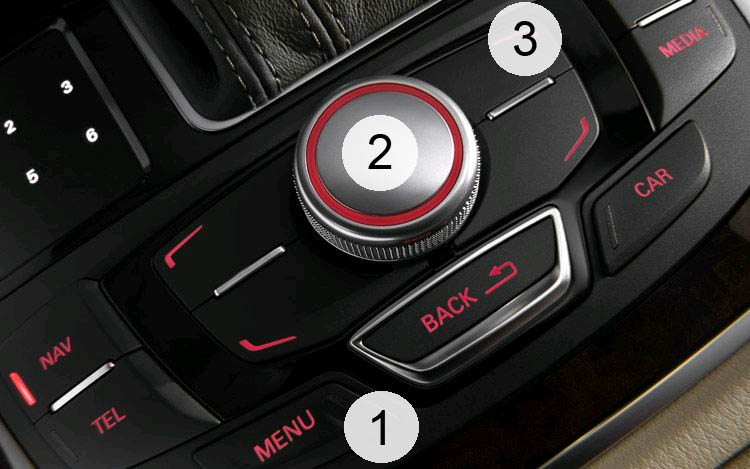
Selecting Comfort, Auto, Dynamic, Offroad, and Efficiency modes in the Individual Mode settings
3 – Click “Select,” then click “09 – Cent. Elect.”
4 – Click on “ Security Access – 16 ” then type the code “ 20113 ”
4 – Click “Adaptation – 10.”
5 – Select Channel 70
Set the value to 46 (Comfort + Auto + Dynamic + Efficiency)
2 = Comfort
4 = Auto
8 = Dynamic
16 = Off-Road
32 = Efficiency
This post is also available in:
 Français (French)
