
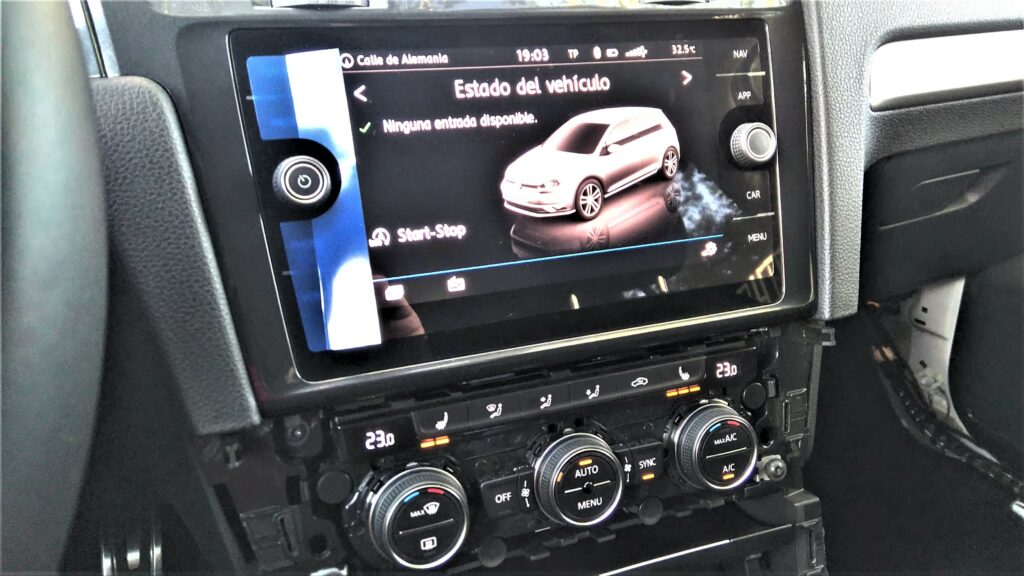
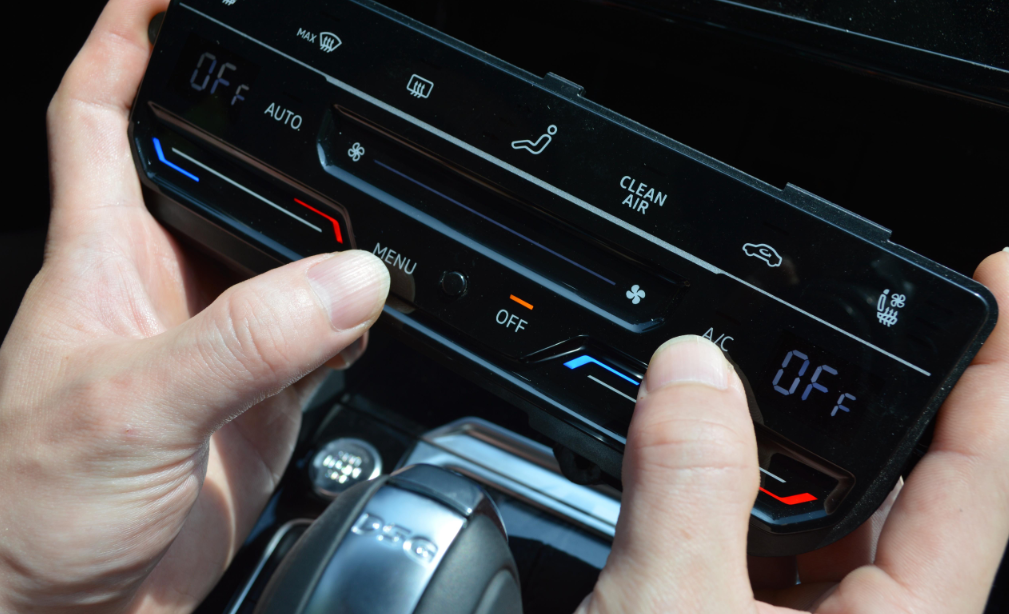
Purpose: to code and adapt the Touch Climatronic panel so that the AC climate control/compressor is functional after installation. (Touch Climatronic) (Retrofit)
Touch Climatronic Unit ref example: 3G8907044 / 5NA907044AJ
For electric/hybrid vehicles, a compatible full-touch climate control part number is required.
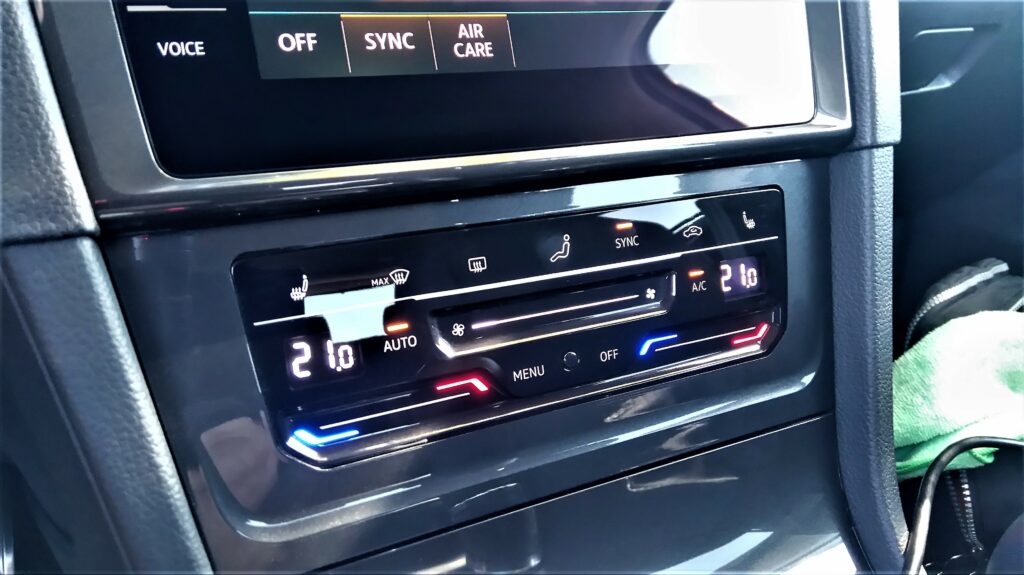
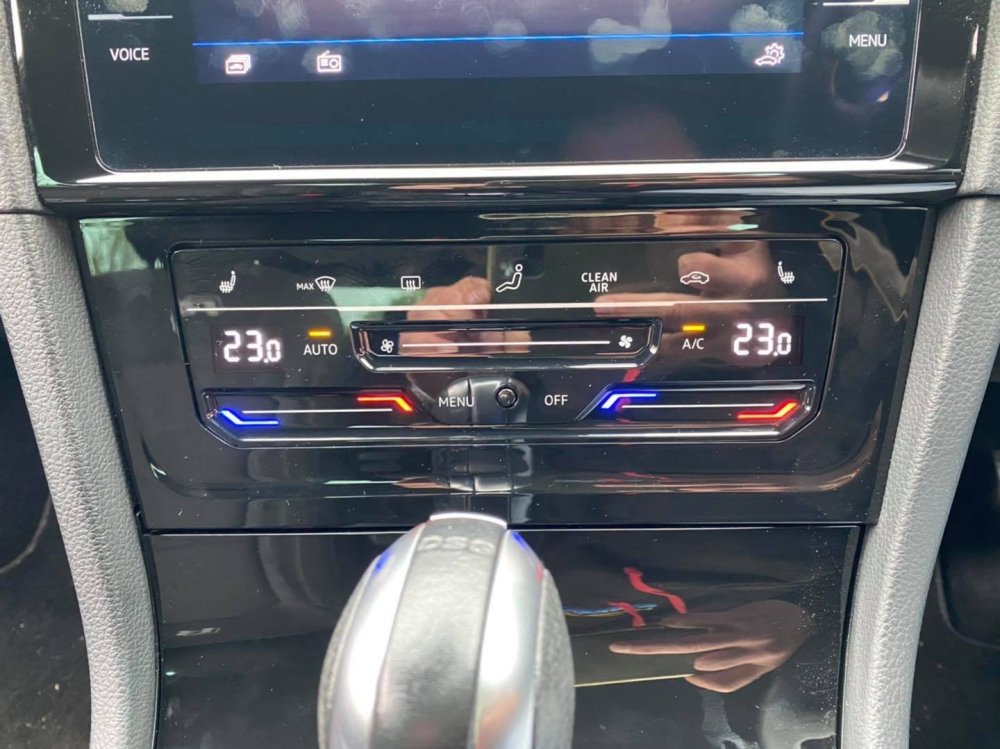
-> AC touch climate control panel, VW Golf 7, 7.5, Passat B8 on VAG Custom
Tactile climate control coding
Procedure:
1– Engine off, ignition off, connect your official VAG-COM VCDS cable to
the computer, then plug the other end into your vehicle’s diagnostics socket.
2– Switch on the ignition and run the VCDS program.
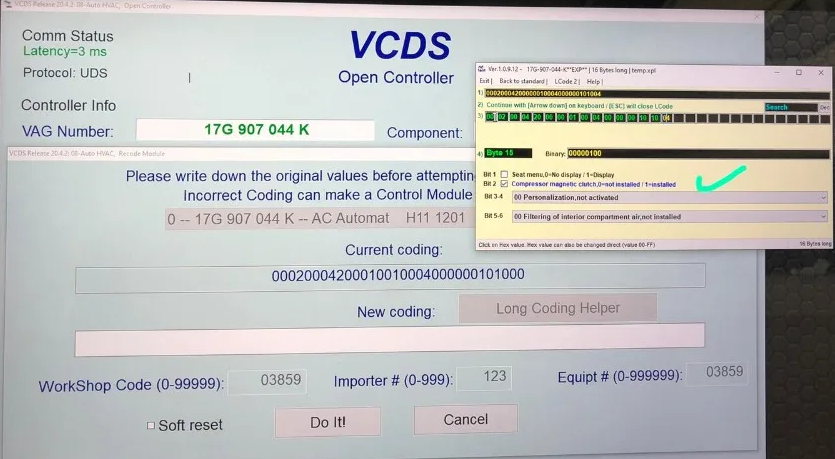
The coding information is found using the long coding wizard when connecting to the vehicle with VCDS. Before replacing a module, save the original coding of the original A/C module and transfer it to the new touchscreen A/C module.
Transfer old unit’s long code to new unit’s long code + Check
3 – Click on“Select” then click on“08 – Climatronic” / “08 – Auto HVAC”.
4 – Click on“Coding- 07” then click on“Long Coding Helper”.
5 – Copy the long code (1) (the 30 or so digits in yellow) (on a notepad on your PC, for example) from your original air-conditioning system, then exit VCDS and change your current air-conditioning panel to touch-sensitive, relaunch VCDS and paste the saved long code in place of the current touch-sensitive air-conditioning long code! then exit -> Go
Options :
Coding : Only if you don’t have a rear-row climate control unit, e.g. Golf 7.5 (VCDS with experimental menu only)
3 – Click on“Select” then click on“08 – Climatronic” / “08 – Auto HVAC”.
4 – Click on“Codage- 07” then click on“Assistant Codage Long”.
5 – Select byte“7”
Then check Bit“2-3” [LN]_Climate zones second row of seats : [VN]_not installed : Enabled
Adaptation (option)
3 – Click on“Select” then click on“08 – Climatronic” /“08 – Auto HVAC”.
4 – Click on “Adaptation – 10”.
5 – On this page, at the very top, there is a drop-down menu.
In this drop-down menu, choose“ENG248446-HMI_View_Switch”.
6 – On this same page, there is a second drop-down menu at the bottom
of the page.
On this menu, select“active” and confirm.
Basic setting for air-conditioning compressor
Note: the basic setting must be made when the air-conditioning control module (J301) or the damper motor(s) have been replaced.
Adaptation of shutter end stops
Required when shutter motors are replaced or when a self-check is required for self-diagnosis of defective motors.
[Select]
[08 – Climatronic “/” 08 – Auto HVAC]
[Basic settings – 04]
Select IDE01546-ENG167462 “Adapt shutter/door end stops” from the drop-down list
[Go!]
Basic setting takes about 20 seconds.
Completed correctly should be displayed
[Stop]
[Completed, Go back]
[Close controller, Go back – 06]
Clear fault codes !!!

Initial running-in of air-conditioning compressor
Required when air-conditioning control module (J301) is replaced.
Prerequisites for starting the first running-in of the air-conditioning compressor in basic mode :
- Engine idling
- Transmission in Park or Neutral position
- Do not switch off the ignition
- The basic setting has been made for the shutters
- Interior fan motor is on
- Air vents fully open
- Load management not active
Steps for the “first running-in of the air-conditioning compressor” :
1- Start the engine and let it idle.
2- Go to adaptation and change the values of these two channels to 120 s :
[Select]
[08 – Climatronic “/” 08 – Auto HVAC]
[Adaptation – 10]
IDE01503-Basic setting operating time for compressor running-in, 120 s, 1 … 120 you must carry out the process/modification even if it already has the value of 120 s.
IDE03176-Compressor runtime, 60 s, 1 … 120

3- Close/quit controller/unit 08, Close/quit VCDS, Switch off motor, Wait between 30 seconds and one minute, Restart motor, Open VCDS again and re-enter unit 08, Go to adaptation and re-enter original values, 120 and 60 respectively.
4- Go to basic settings.
[08 – Climatronic “/” 08 – Auto HVAC]
[Basic settings – 04]
Select IDE02259-ENG167462 “Compressor run/rod in: automatic start” from the drop-down list.
[Go!]
Wait 120 s (2 min), observe the A/C button indicator on the clim touch panel flashing.
Once the basic settings have been completed, the A/C indicator goes out and the process is finished.
[Stop]
Check fault codes. Delete if necessary. Exit Climatronic 08. Check that the A/C button is on.
Basic setting Without VCDS :
Switch on the motor, then press AC+MENU simultaneously for 10 seconds. Please wait 2 to 3 minutes (correspondence is in progress at this time) and do not perform any irrelevant actions!
Once the process is complete, the air purification and internal circulation indicators will work! If this does not work, please check the code and whether the motor is switched on!
Then press and hold rear window defroster + AC for 2 to 3 minutes (it will fail if you move away for a second). Be patient and try several times. If you see the AC light on, you’ve succeeded.
If the MENU button doesn’t display anything on your Discover screen :
Line 1:
3 – Click on“Select” then click on“5F – Electr. information”.
4 – Click on“Security Access – 16” then enter the code“20103”.
5 – Click on“Adaptation – 10”.
6 – On this page, at the very top, there is a drop-down menu.
In this drop-down menu, choose“Car_Function_List_BAP_Gen2-climatic_master_0x01” and“climatic_slave_0x02” and“auxilary_heating_0x03”.
7 – On this same page, there is a second drop-down menu at the bottom
of the page.
On this menu, select“active” and confirm.
Line 10:
3 – Click on“Select” then click on“5F – Electr. information”.
4 – Click on“Security Access – 16” then enter the code“20103”.
5 – Click on“Adaptation – 10”.
6- On this page, at the very top, there is a drop-down menu.
In this drop-down menu, choose“Car_Function_List_BAP_Gen2-climatic_master_0x01_msg_bus” and“climatic_slave_0x02_msg_bus” and“auxilary_heating_0x03_msg_bus”.
7 – On the same page, you’ll find a second drop-down menu at the bottom
of the page.
On this menu, select“data Extended” and confirm.